No products in the cart.

365 Archery 3D Archery Targets
When folks enter a new industry, or even a new subsection of their industry, they usually dip their toe in by offering one or two


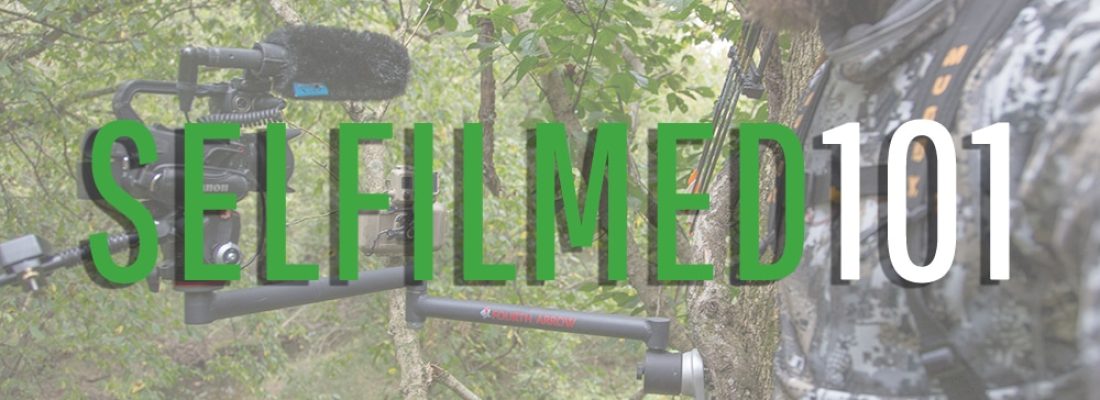
Now that you’ve acquired your camera gear, it’s time to start talking about how to use it once you climb up your tree. We really focus on making your camera accessible, while minimizing unnecessary movement. Most importantly, it is imperative that you have your camera setup in a position that allows you to still make the shot when an opportunity presents itself. This means you need to clear any branches that might reduce your camera arm’s range of motion.
The first thing you’ll need to do when you get in your tree is hang your camera arm base. If you are right-handed, you will want the camera base on the left side of your tree (when facing the tree), if your left-handed you will want the base on the right side of your tree. Height wise, you will want your camera to be at a comfortable height so you can operate it both sitting and standing. Remember that when you put on the camera arm and fluid head, you will be adding anywhere from 4 to 8 inches of additional height to your camera, so play around with this and figure out what works, you are better off spending an extra couple of minutes getting it just right. Finally, I recommend placing your base between 45 and 90 degrees around the tree from your stand. Keep it as close to 45 degrees as possible, but don’t move it so close that you are unable to move your camera out-of-the-way in the event you need to shoot to the same side as it is hanging from.
Once your base it setup and ready to go, finish installing your camera arm and get your fluid head pan handle set at a good height that allows for comfortable operation sitting or standing. Remember, that most of the time, your camera will be angled downward, so set your fluid head pan handle accordingly to allow for this. In the event you want to film a bird or squirrel up in a tree, it is less critical that your movement be kept to a minimum, so you can afford a little extra movement to shift your camera around. Focus on setting up for the hunt, not the b-roll. Make sure that your LANC Controller is in a position that you can easily reach all of the buttons you need to operate your camera, and be sure that nothing is in the way of your zoom control as this can become a problem during the hunt.
When all is said and done, the end goal is to have your camera setup in a fashion that allows one-handed operation at all times. This is a critical piece of the puzzle as you will often have your bow in one hand, and you’ll be using the other to maneuver your camera into position for a shot. If you have not already done so, I recommend you hang a treestand in your back yard and practice putting up your camera gear. If you are not familiar with your setup and takedown process, it is really easy to make unwanted noise and you will risk ruining your hunt before it starts.
As a final note, I recommend assembling your fluid head, camera arm, and LANC controller before heading to the woods. Carry this portion of your setup as a single unit, it will save you time when you get to your hunting spot, and it is also easy to strap to the outside or your pack to free up space for other gear.
If you have any questions or would like further clarification on the information from this article, please visit our contact form and let us know. We love hearing from our readers, and as always, we welcome any feedback or tips you have to offer.
SELFILMED 101 Series:

When folks enter a new industry, or even a new subsection of their industry, they usually dip their toe in by offering one or two

Highlights of Greylight’s new releases for 2024 – the Daybreak Blind, Transformer Tower, and Nomad trailer.

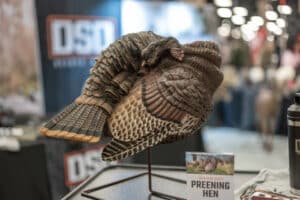
With one of their coolest decoys to date, the NWTF floor was buzzing with talk of the new DSD Preening Hen decoy. It’s almost TOO
Don’t miss a thing! Subscribe below to keep informed on everything that’s happening with the folks at SELFILMED.com
2 Responses