No products in the cart.

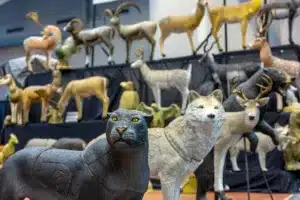
365 Archery 3D Archery Targets
When folks enter a new industry, or even a new subsection of their industry, they usually dip their toe in by offering one or two


As winter gives way to spring, and the emergence of fresh new life dominates the countryside, I find it impossible to keep my mind off the upcoming turkey season. My thoughts are constantly drifting back and forth between successful hunts, and others that, let’s just say, didn’t go so well due to lack of preparation. Turkey hunting with a bow is a challenge in of itself, but when you add in the extra component of filming…well, things can get interesting quick! I still remember the first turkey I ever killed with a bow. I had every intention of the hunt being SELFILMED, but several key factors led to a botched attempt. It was complete luck that I actually managed to arrow a bird after what seemed to be a blown hunt.
Since that first attempt at SELFILMing, I have learned that a little extra planning can save a lot of grief in the field. Carrying so much gear tends to add a lot of time and noise to your setup process, and both have played a part in a few of my hunts. As a result, I have found that developing and practicing a setup routine helps to mitigate some of the headaches that come along with filming your own hunts.
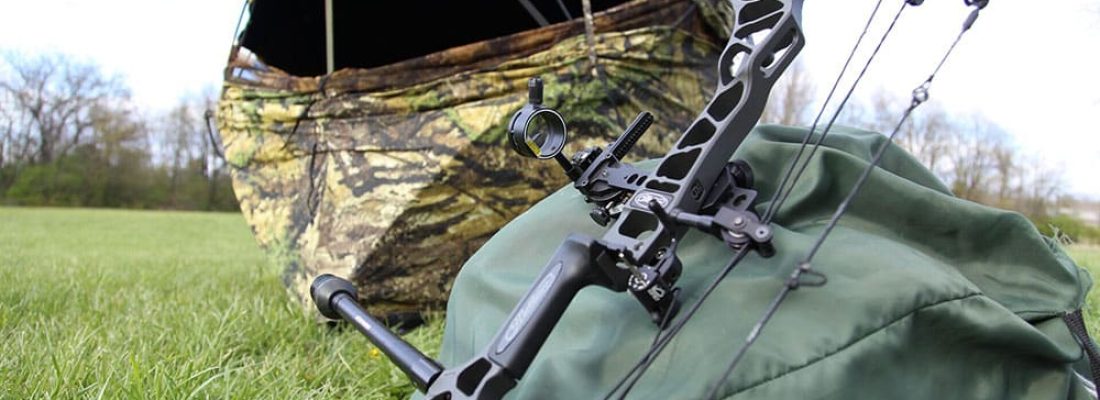
Before turkey season opens, I like to lay out all of my gear and systematically organize everything into groups that represent a “phase” of my setup. This allows me to pack everything so that I can unload quickly, stay organized, and setup with as little noise as possible. We’ll get more into exactly what those phases are in a moment. Before we do that, let’s think for a minute about exactly what we’ll be taking along with us on our hunts. My gear list generally consists of the following items: bow, ground blind, blind chair, video camera, tripod, secondary angle camera(s), turkey calls, decoys (2 to 4), and various other accessories. Your gear list will likely differ from my own, but it is important to keep efficiency in mind when you pack. Try to pack your gear in a way that allows you to distribute the weight of everything as evenly as possible. I also recommend you separate your gear between items that stay in the blind with you, and items that do not. The reason for this I’ll explain in the first phase of my setup.
Phase 1 – Blind Setup: When I arrive at my hunting location, the first thing I like to do is pop up my blind. This is typically the noisiest part of setting up, and so I like to get it out of the way before I do anything else. After I pop my blind up, I also like to throw everything in blind that will remain in the blind with me through out my hunt. This allows me to keep my gear organized, and I can avoid the need to get in and out multiple times. It also allows me to keep my gear dry in the event it is raining or heaven forbid, snowing.
Phase 2 – Decoy/Decoy Camera Setup: The next thing I do after setting up my blind and re-organizing my gear is set up my DSD Decoys and my Decoy Camera. Decoy setup and Blind setup are the only two phases of your setup that require you to be out in the open, so it is important to complete both before there is enough light to be detected by any nearby birds. In the upcoming days, we will be releasing an in-depth article going over some decoy setup best practices to help you maximize the effectiveness of your decoy spread. Make sure you don’t miss out, as decoy setup can often times be more important than anything else, even calling.
Phase 3 – Camera Setup: Now that we have out decoys ready to go, it’s time to get in the blind and start setting up our camera gear. It is important to take note of your decoy placement in relation to the window(s) on your blind. If you don’t set your camera up in a position that allows you to shoot to all of your decoys, you are setting yourself up for failure. Being right handed, I like to keep my camera set up on my right side, and I usually sit sideways in my blind with the camera tripod positioned so that one of the legs is between my legs. This allows me to face the camera at all times so I can see the view finder, but I am also sitting in a comfortable position to shoot out the front of my blind. Last but not least, I typically like to keep my camera slightly further back in the blind than I am, this also allows me to shoot further to the right side of my front window if necessary. More often than not, if a bird commits to coming all the way to your decoys, they are going to be right in the thick of them providing you an ideal shot opportunity, but you don’t want to leave any stone unturned as nature has a strange way of humbling us if we give it the chance.
Phase 4 – Gear Organization: The last phase of my setup process may seem like a trivial concern, but if you don’t stay organized in the blind, you can sabotage your hunt just as quickly as with anything else. Mark sure you have quick access to your calls, binos, YOUR BOW! I cannot stress this enough. Think through every possible scenario you can imagine. In the event you miss a bird, do you have a follow up arrow close at hand? If a bird hangs up at 50 yards, do you have your favorite slate call near by to do a few soft clucks and purrs? You can certainly get by with a lot more movement and noise inside a ground blind than you could without, but nothing is a given. You’ll be doing yourself a huge favor by avoiding any extra movement other than what is absolutely necessary.
So now that we’ve taken a 30,000 foot look at my setup process, what’s next? PRACTICE! Get out your ground blind and set it up, figure out how long it takes you to set it up, and make sure you become proficient at it. If you can’t setup your blind quickly and quietly in the comfort of your own back yard during daylight, chances are you won’t have any more luck in the dark when you are in a rush. Make sure you are comfortable shooting out of your blind in a sitting position. Setup your camera and practice filming targets while you shoot. This is the best way to figure out what is going to work for you when you are hunting.
Filming your hunts can add an exciting new challenge to an already difficult task, but failure to adequately prepare yourself can quickly turn you off from an otherwise enjoyable hobby. If you are considering filming for the first time this year, make sure you carefully think things through. For many of us, we don’t have many opportunities at a bird with a bow each year, so it is important to capitalize when those opportunities present themselves.

When folks enter a new industry, or even a new subsection of their industry, they usually dip their toe in by offering one or two

Highlights of Greylight’s new releases for 2024 – the Daybreak Blind, Transformer Tower, and Nomad trailer.

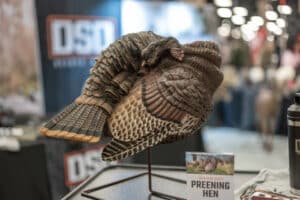
With one of their coolest decoys to date, the NWTF floor was buzzing with talk of the new DSD Preening Hen decoy. It’s almost TOO
Don’t miss a thing! Subscribe below to keep informed on everything that’s happening with the folks at SELFILMED.com